Quick Start (Pixhawk)
Deploy DroneOS on a physical drone with a Pixhawk flight controller.
DroneOS is built to work on real aircraft, not just in simulation.
The overall model is simple: PX4 runs on the flight controller, DroneOS runs on a companion computer, and the same high-level control concepts used in simulation carry over to hardware.
If you want the deeper design context behind that split, see Hardware Architecture.
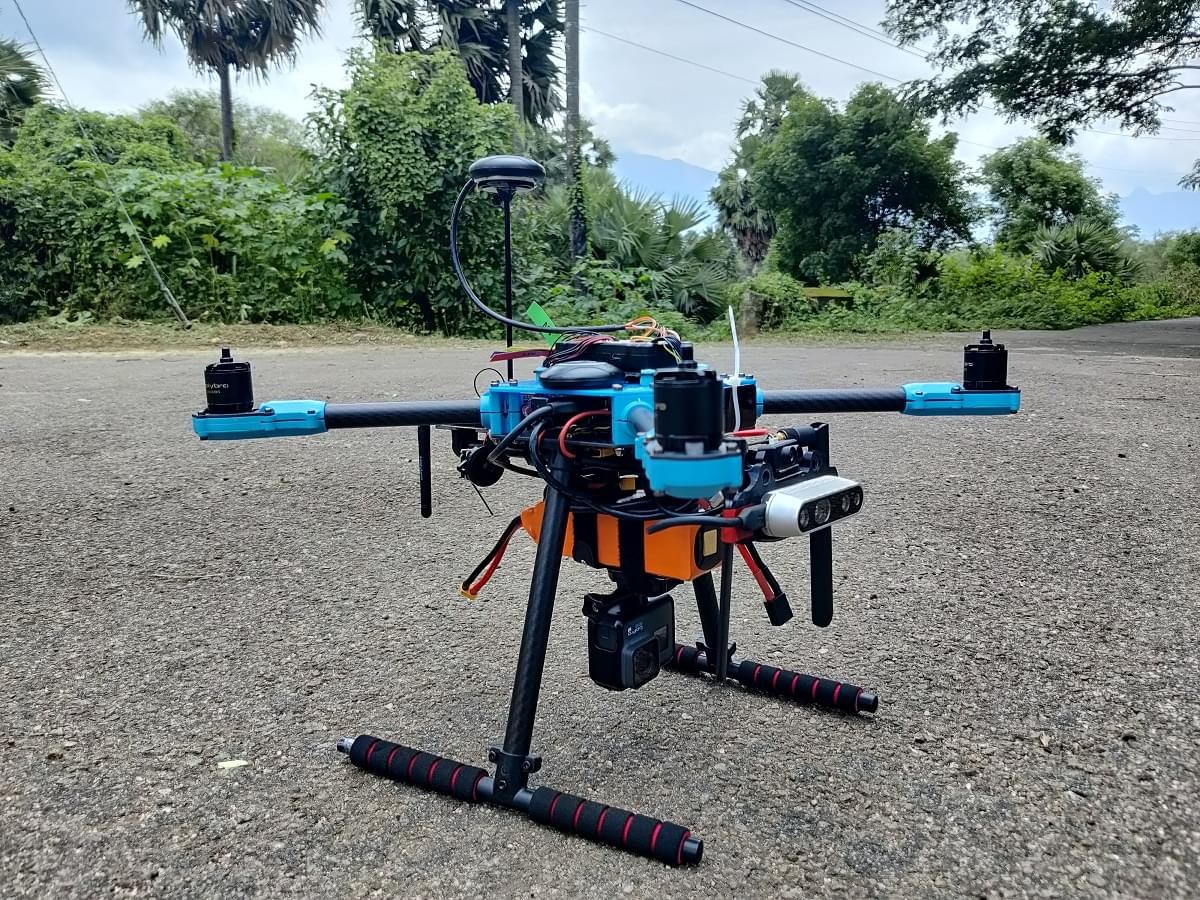
Reference X500-class PX4 development kit with propellers removed. Source: PX4 User Guide, CC BY 4.0.
Typical Hardware Setup
A typical DroneOS hardware deployment includes:
- an airframe such as an X500-class platform
- a Pixhawk flight controller running PX4
- a companion computer such as a Raspberry Pi
- a network path for remote access, such as VPN over local or cellular connectivity
The exact integration details depend on your platform, but the architecture stays the same: flight control on the autopilot, software and integration on the companion computer.
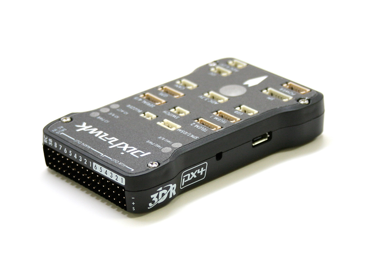
Pixhawk-class flight controller running PX4. Source: Wikimedia Commons by Okalachev, CC BY 4.0.

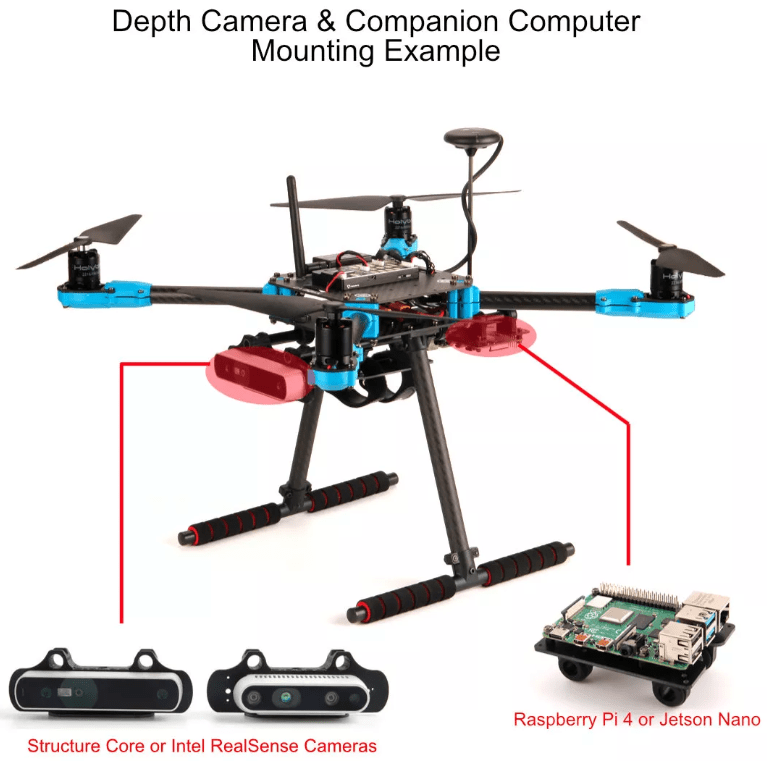
X500 payload rails can carry companion compute or camera hardware. Source: PX4 User Guide, CC BY 4.0.
Prerequisites
Before deploying DroneOS on the companion computer, verify:
- Pixhawk Flight Controller (PX4 v1.15.4) wired from
TELEM2to the Raspberry Pi 5 (via FTDI USB-to-serial adapter or UART). - PX4 uXRCE-DDS Parameters (set once in QGroundControl, then reboot the Pixhawk):
MAV_1_CONFIG = 0 # Disable MAVLink on TELEM2 UXRCE_DDS_CFG = 102 # Enable uXRCE-DDS client on TELEM2 SER_TEL2_BAUD = 921600 # Match MicroXRCEAgent baud rate - Raspberry Pi 5 (Ubuntu 22.04+) with Docker, Docker Compose, and VPN connected.
- Serial permissions and udev symlink on the Raspberry Pi:
sudo usermod -a -G tty,dialout $USER
echo 'SUBSYSTEM=="tty", ATTRS{idVendor}=="26ac", ATTRS{idProduct}=="0011", SYMLINK+="pixhawk-telem2"' | sudo tee /etc/udev/rules.d/99-pixhawk.rules
sudo udevadm control --reload-rules && sudo udevadm trigger
ls -l /dev/pixhawk-telem2
1. Clone DroneOS on the Companion Computer
git clone --recurse-submodules https://github.com/ortegarod/drone-os.git ~/drone-os
cd ~/drone-os
2. Start the Control Stack (micro_agent + drone_core + rosbridge)
Build and start the PX4 serial bridge, DroneOS control node, and rosbridge_server (port 9090):
docker compose -f docker/prod/docker-compose.yml -f docker/prod/docker-compose.web.yml up -d --build micro_agent drone_core rosbridge_server(Optional) The camera service builds libcamera and rpicam-apps from source (~2 hours on first build). Build and run it separately only when needed:
docker compose -f docker/prod/docker-compose.yml build camera_service
docker compose -f docker/prod/docker-compose.yml up -d camera_service
After the images are built, start services without rebuilding:
docker compose -f docker/prod/docker-compose.yml -f docker/prod/docker-compose.web.yml up -d micro_agent drone_core rosbridge_server3. Verify Onboard Connection
Check that micro_agent is receiving uORB topics over /dev/pixhawk-telem2 and drone_core registered the /drone1/* services:
docker logs --tail 30 micro_agent_service
docker logs --tail 30 drone_core_node
4. Point Command Center at the Drone & Fly
On the Command Center server, set SIM_HOST in docker/vps/.env to the Raspberry Pi's VPN IP and restart fleet_api and camera_proxy:
# On the Command Center server
sed -i 's/^SIM_HOST=.*/SIM_HOST=<RPI_VPN_IP>/' ~/drone-os/docker/vps/.env
docker compose -f ~/drone-os/docker/vps/docker-compose.vps.yml up -d fleet_api camera_proxy

# Verify telemetry and fly
droneos drones
droneos takeoff drone1 --alt 10
droneos land drone1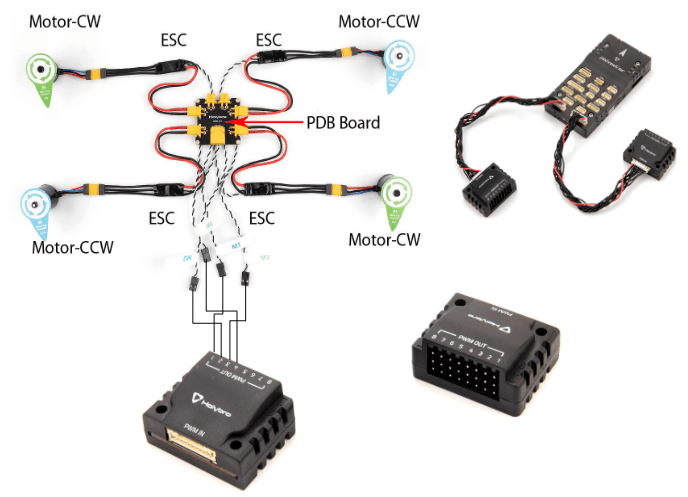
PX4 reference wiring for the X500 power module, ESCs, and Pixhawk controller. Source: PX4 User Guide, CC BY 4.0.
How It Differs From Simulation
In simulation, everything can run on one machine.
On real hardware, those responsibilities are split across physical devices:
- the flight controller handles the aircraft
- the companion computer runs DroneOS
- the operator or command system talks to the aircraft over a networked connection
That makes the hardware setup more operationally realistic while preserving the same software model.
Why This Matters
The point of DroneOS on hardware is not to replace the autopilot.
It is to make a PX4-based aircraft easier to:
- control programmatically
- connect to remote software
- integrate with cameras and external systems
- extend with higher-level autonomy features over time
Companion Computer Choices
The companion computer is where the hardware story starts to branch.
Raspberry Pi
A Raspberry Pi is a good fit when your focus is:
- connectivity
- control
- telemetry
- integration work
- early real-world deployment
Jetson
A Jetson becomes more compelling when your focus shifts toward onboard perception, such as camera-based inference or future local autonomy features.
That does not mean Jetson is required for every DroneOS deployment. It means the right onboard computer depends on what the aircraft is expected to do.
What DroneOS Hardware Support Means Today
Today, the most important thing to understand is the role of DroneOS in the stack:
- PX4 provides flight control
- DroneOS provides the software layer above it
- Companion compute provides the bridge between the aircraft and higher-level applications
That gives you a path from simulation to real hardware without changing the basic mental model.
Next Steps
If you're exploring real aircraft support, the best next pages are:
Image Credits
- X500 kit, payload mount, and wiring images: PX4 User Guide, licensed CC BY 4.0.
- Pixhawk controller image: Wikimedia Commons by Okalachev, licensed CC BY 4.0.